
Direct answer
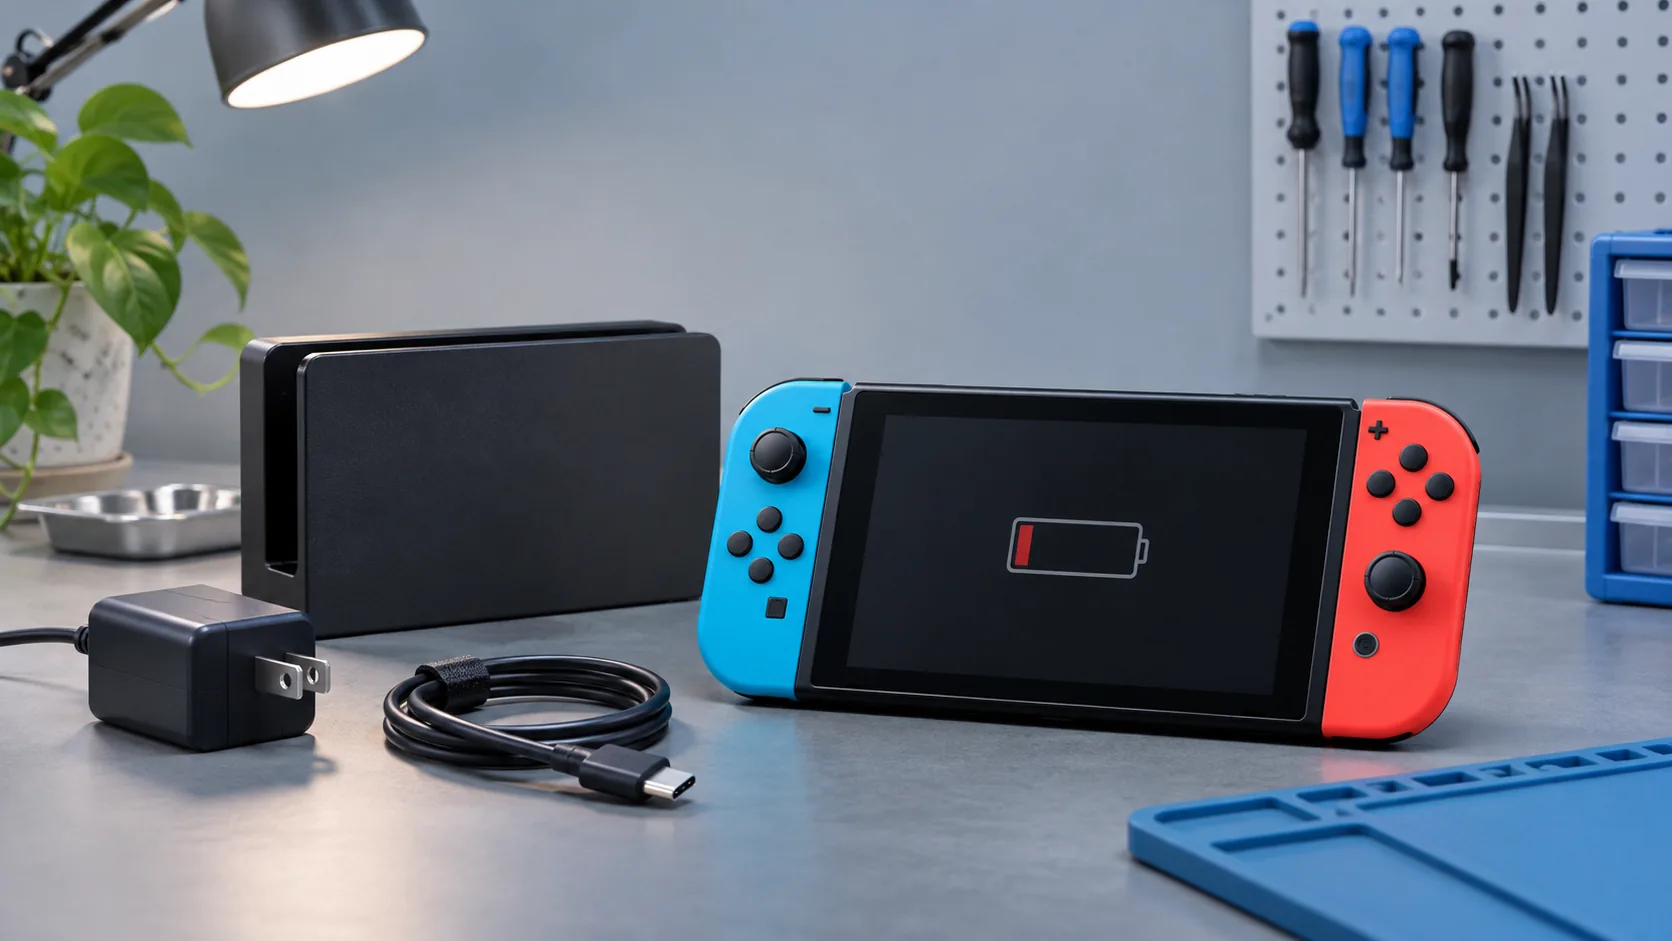
When an original Nintendo Switch, Switch Lite or Switch OLED will not charge, start outside the console. Reset the Nintendo Switch AC adapter by unplugging it from both ends for 30 seconds, use a direct wall outlet and connect it directly to the console outside the dock. Nintendo identifies the original Switch adapter as model HAC-002. If the battery is deeply discharged, the screen may stay black except for a brief charging icon. Leave it connected for at least 30 minutes before trying to power it on. A console that charges directly but not in the dock points toward the dock setup. No charging icon, visible USB-C damage or an intermittent plug needs service.
Quick answer
| Test result | What it suggests | Next step |
|---|---|---|
| Charges directly but not in the dock | Dock, dock adapter connection or accessory setup | Reset and reconnect the official dock setup |
| No charge with a known-good HAC-002 adapter | Console port, battery or charging circuit | Inspect the port and arrange diagnosis |
| Plug must be held at an angle | Worn or damaged USB-C port | Stop moving the plug and seek port service |
| Charging icon appears briefly on black screen | Battery may be deeply discharged | Leave charging for at least 30 minutes |
| Adapter cannot power another compatible Nintendo accessory | Adapter or cable assembly may be faulty | Replace or test the correct adapter |
| Port has bent metal or corrosion | Physical connector damage | Do not insert another cable; arrange service |
This guide is for the original Switch family
The steps below cover Nintendo Switch, Nintendo Switch Lite and Nintendo Switch OLED. Nintendo Switch 2 uses a different power system and adapter requirements. Confirm the console model before buying or borrowing accessories.
For the original family, Nintendo’s charging instructions identify the Nintendo Switch AC adapter as HAC-002. Switch Lite cannot use the original Switch dock for TV mode, so a dock test is not relevant to that model.
Reset the power path first
Nintendo’s official cannot-charge procedure starts with the console outside the dock:
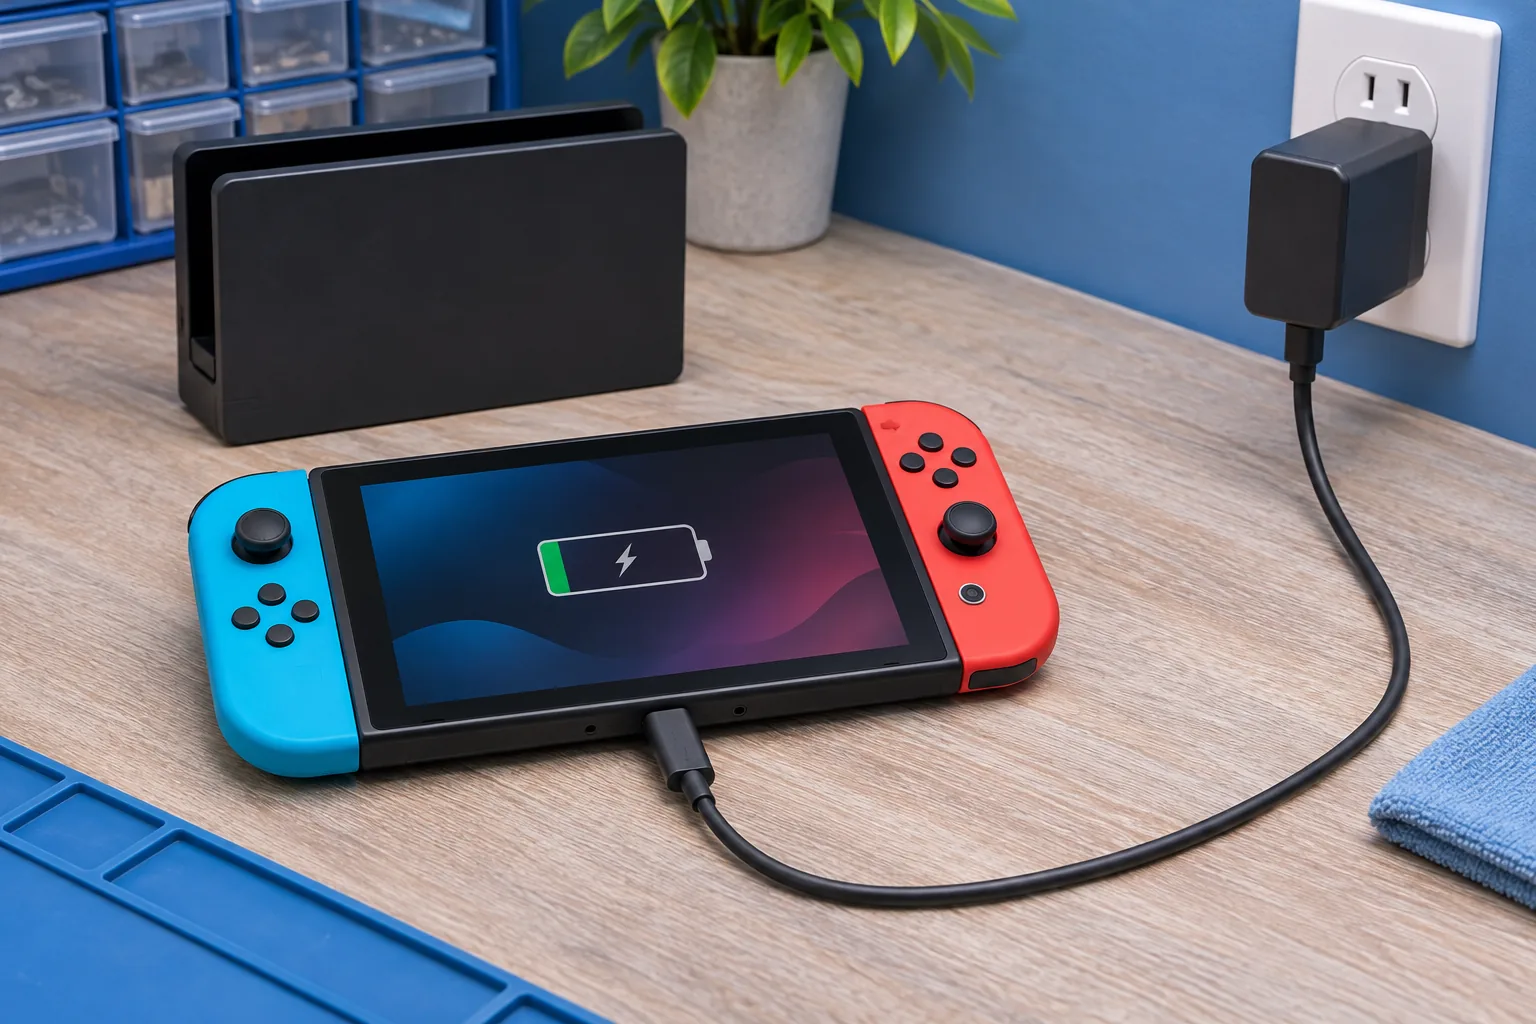
- Unplug the AC adapter from the wall and from the console or dock.
- Leave it disconnected for 30 seconds to reset the adapter.
- Hold the console’s Power button for 20 seconds, then release it.
- Connect the HAC-002 adapter directly to a wall outlet.
- Connect it directly to the console.
- Press Power once and look for the charging indicator.
If the battery is nearly empty, Nintendo says the screen can remain off and show a charging icon only briefly in the top-left corner. Leave the console connected for at least 30 minutes before trying to start it again.
Use a direct wall outlet for this separation test. Remove power strips, third-party docks and multiport hubs. Do not repeatedly connect and disconnect the plug if the port feels loose or damaged.
Check the adapter without guessing from USB-C shape
USB-C describes the connector shape, not the complete power behavior. A phone charger may fit but fail to provide the expected power profile. A low-power accessory can make a diagnosis confusing even if it charges another device.
Check the label for model HAC-002 and inspect the cable and plug for:
- cuts, kinks or fraying;
- a loose connector shell;
- burned, bent or corroded contacts;
- damage near either strain relief;
- unusual heat or smell.
Nintendo suggests testing whether the adapter can charge another compatible Nintendo USB-C product, such as a Pro Controller, charging stand or dock. If it cannot, the adapter becomes the main suspect. If it can, that does not prove the console port and board are good, but it helps separate the path.
Do not open the adapter. Replace a damaged power accessory rather than taping it or bending it into a working position.
Separate the dock from the console
If direct charging works, reconnect the dock carefully. The original Nintendo Switch dock should receive the HAC-002 adapter at the terminal labeled AC Adapter, with the adapter connected directly to the wall during the test.
A console that charges directly but fails only in the dock can involve:
- the dock’s power input or internal board;
- an incorrect or damaged adapter;
- debris or damage at the dock’s console connector;
- a third-party dock or accessory;
- poor seating caused by a case;
- firmware or setup specific to the dock model.
Remove any case that prevents the console from seating normally. Do not force it down. Inspect the dock connector with light only and do not insert metal tools.
Nintendo’s TV-mode adapter guidance also recommends resetting the adapter, using the official dock and connecting directly to a wall outlet. If another compatible dock is available, a controlled comparison can identify whether the problem follows the dock or the console.
Inspect the USB-C port without touching the pins
Use a flashlight and look straight into the console’s port. Stop if you see:
- bent or displaced metal;
- a center tongue that is cracked or off-center;
- packed debris that prevents full insertion;
- green, white or dark corrosion;
- a plug that sits visibly crooked;
- a port that moves inside the case.
Nintendo says a visibly damaged USB-C connector requires service. Do not scrape the port with a needle, safety pin or metal tweezers. Do not keep wiggling the cable. The USB-C connector has many closely spaced contacts, and movement can damage pads or traces on the board.
Exterior lint is not automatically the cause. Cleaning methods and port construction vary, and an aggressive attempt can turn removable debris into connector damage. Device port repair is the appropriate service path when the connector is loose, bent or physically damaged.
Battery, port or charging board?
The battery is only one part of the charging system. Power enters through the USB-C port, passes through protection and charging-control circuits, and then reaches the battery. The console also has to negotiate power correctly with the adapter.
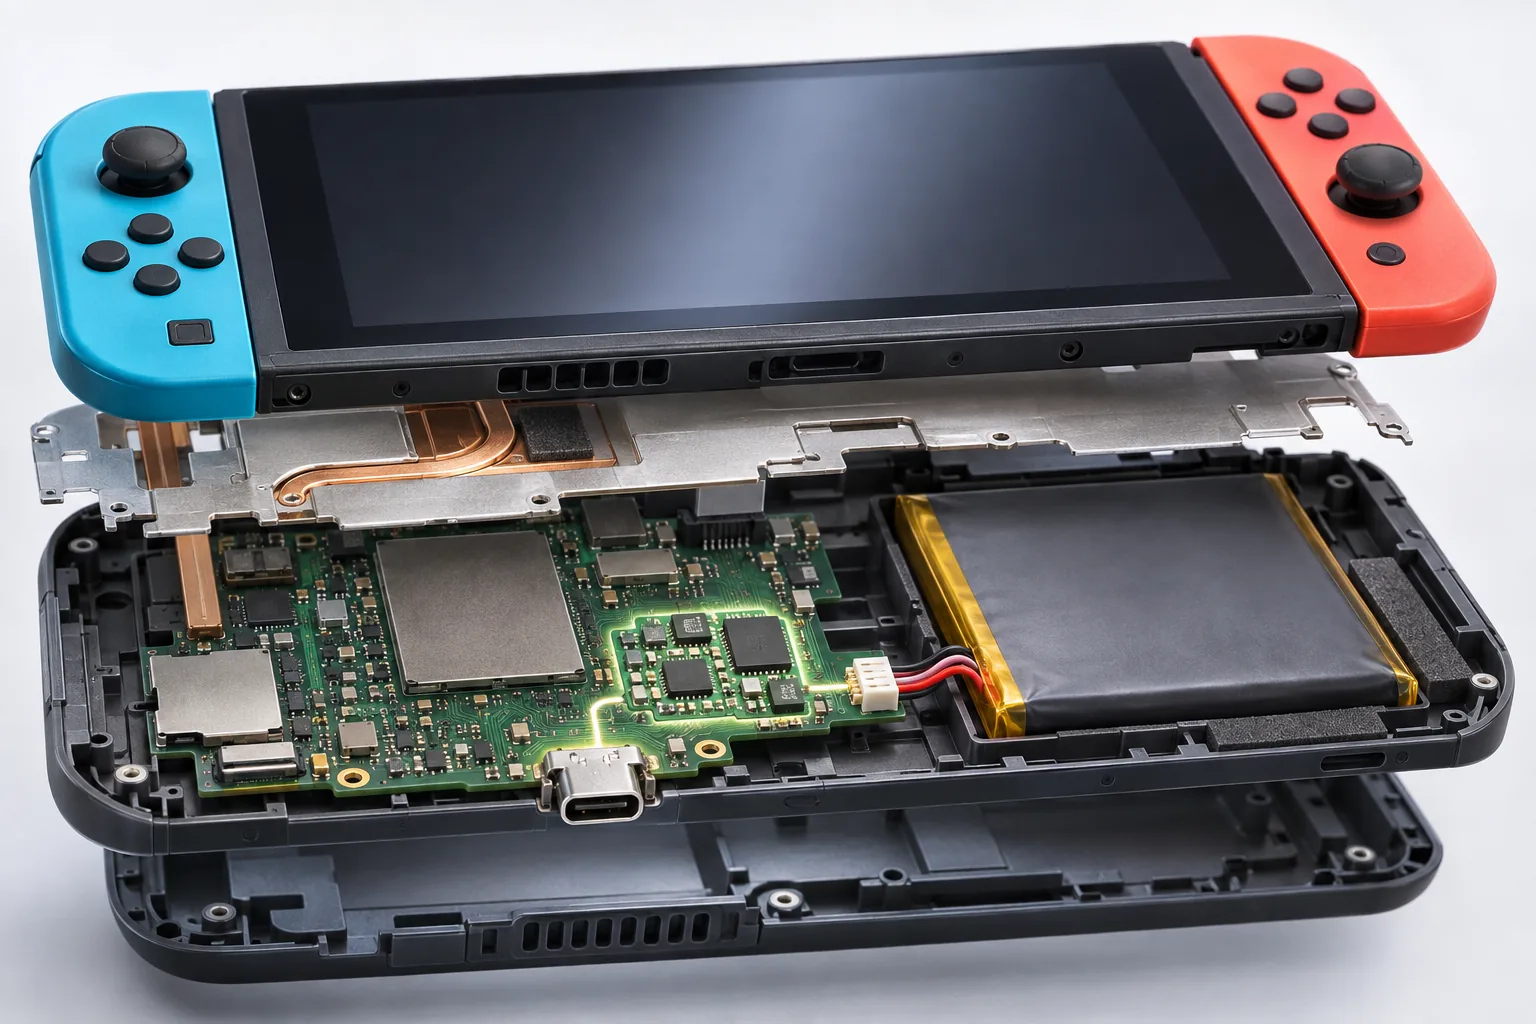
The following patterns are clues, not final proof:
- no response after the official adapter reset and charging period can involve the port, battery or board;
- charging only at a cable angle makes port damage more likely;
- direct charging works but docked charging fails, which moves the dock path higher on the list;
- the console turns on with power but shuts off immediately when disconnected, which can involve battery capacity or connection;
- heat near the port, repeated disconnect sounds or visible corrosion can indicate connector or circuit trouble.
A replacement battery will not repair torn USB-C pads or a failed charging controller. A new port will not repair a failed adapter. Diagnosis should follow the full path.
When board-level repair is involved
The Switch USB-C connector is soldered to the mainboard. Physical damage can affect the connector itself, its solder joints, nearby components or board traces. Liquid exposure can create similar symptoms without an obviously bent port.
Board-level work should begin with inspection and electrical testing. Microsoldering service may be relevant for a connector, trace or charging-circuit fault. The repair scope should not be described as “just a port” until the board condition is known.
What not to do
- Do not force or wiggle the USB-C plug.
- Do not insert metal tools or liquid cleaner into the port.
- Do not use a visibly damaged adapter.
- Do not assume every USB-C charger is equivalent.
- Do not open or puncture a swollen battery.
- Do not keep power-testing a liquid-damaged console.
- Do not replace the battery before testing the adapter and port path.
Protect save data and the console
If the console still starts, confirm the status of supported cloud backups for the relevant games and account. Not every title or data type is handled the same way. Do not factory-reset the console as a charging test.
If the battery is swollen, the case separates, the console becomes unusually hot or there is an odour, stop charging and using it. Ask for safe transport instructions.
Bring the adapter and dock when the fault involves docked charging. A technician cannot reproduce the full path if only the console arrives.
Repair or replace?
Repair can be reasonable when the fault is a replaceable adapter, battery, dock, USB-C connector or localized board circuit and the rest of the console is in good condition. The diagnosis should state which part of the power path failed.
Replacement deserves consideration when the mainboard has extensive liquid or impact damage, several assemblies are affected, or the total work no longer produces a dependable console. Account access, save data and accessory compatibility belong in that decision.
The gaming console repair service can test the Switch with its adapter and dock before parts are selected.
Final answer
Start a no-charge diagnosis with the HAC-002 adapter, a direct wall outlet and the console outside the dock. Reset the adapter for 30 seconds, force the console off with a 20-second Power-button hold, reconnect it directly and allow at least 30 minutes if the battery is deeply discharged.
If direct charging works, investigate the dock path. If there is no charging icon, the cable must be held at an angle or the port is visibly damaged, stop forcing the connector. The battery, USB-C port and board require separate tests.
Diagnose Switch charging in downtown Montréal
Bring the console, HAC-002 adapter and dock if it is part of the failure to Allô Réparation on Google Maps. Mention whether direct charging works and whether the plug position changes the result.